Building Surveying
Sep 29, 2026
Pre-sale property inspection steps for sellers
Ensure a smooth sale with essential pre-sale property inspection steps. Learn how to prepare your home and gain buyer trust today.

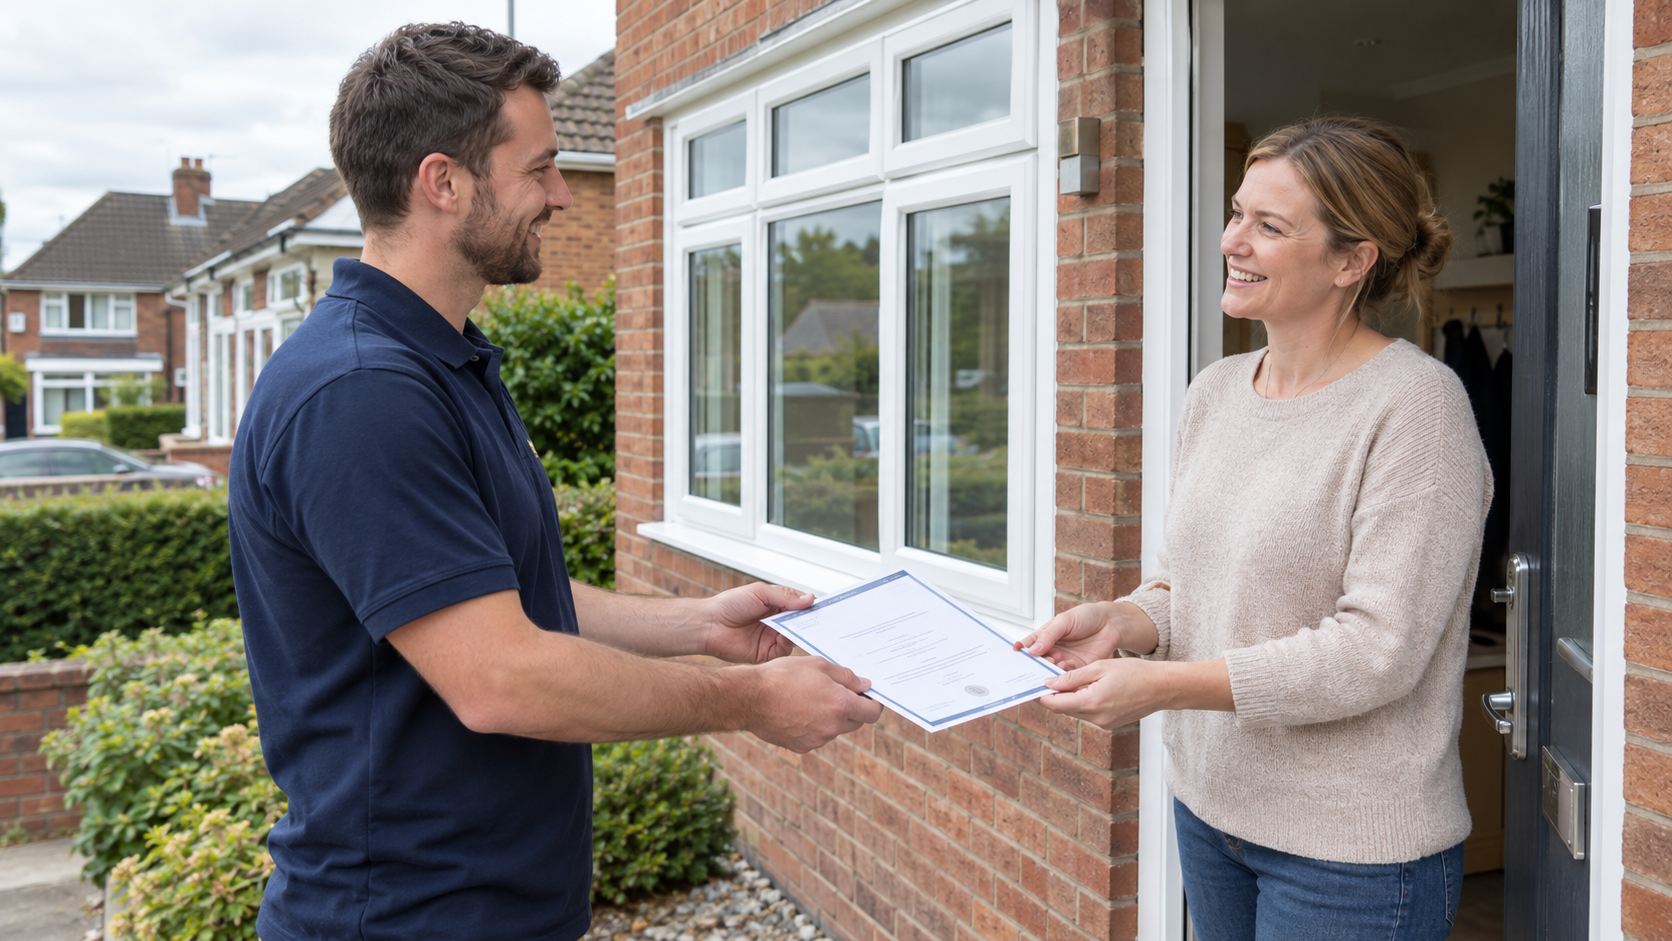
Five steps make up a proper pre-sale inspection: choose your survey level and book an accredited surveyor, prepare the property and paperwork, give the surveyor full access on the day, review the report and prioritise anything flagged amber or red, then decide whether to fix, price-in or disclose each issue. Sellers can handle most of the preparation themselves. Booking a surveyor registered with RICS (Royal Institution of Chartered Surveyors) is the one step you shouldn’t try to shortcut, since it’s the part that produces evidence a solicitor and buyer will actually trust. Once the report lands, you’ll also need to think about your TA6 Property Information Form and what it obliges you to disclose.
Pro Tip: Book the survey before you brief your estate agent on a listing price. Findings change your negotiating position, and it’s far easier to set an honest asking price once than to explain a price cut halfway through viewings.
A pre-sale inspection works because it lets you fix, price-in or disclose defects on your own timeline, well before a buyer’s surveyor can use the same findings as leverage.
| Point | Details |
|---|---|
| Follow the five-step sequence | Book an RICS surveyor, prepare access and paperwork, attend the inspection, review the report, then act on findings. |
| Match survey level to property age | Level 1 suits new builds, Level 2 fits standard homes, Level 3 suits older or altered properties. |
| Budget realistically | Costs range from roughly £250 for a basic condition report to £1,500 or more for a full building survey. |
| Prioritise amber and red items | Get at least two contractor quotes before deciding to fix, price-in or disclose each defect. |
| Use a matched platform | Surveymerchant connects sellers with RICS-accredited surveyors nationwide for impartial, credential-checked reports. |
The most common mistake sellers make is waiting until after an offer to discover defects a buyer’s surveyor then uses against them. Document repairs and get quotes early.
A pre-sale survey hands you control. Instead of a buyer’s surveyor finding the damp patch in month two of negotiations, you find it in week one and decide what to do about it on your own terms. That single shift in timing is worth more than most sellers realise.
Survey findings are a genuine transaction risk. Roughly one in three property transactions faces renegotiation or collapse triggered by issues a survey uncovers, often late, after a buyer has already committed emotionally and financially to the purchase. When that happens on their timeline rather than yours, you’re negotiating from a weaker position.
Commissioning your own inspection flips that dynamic. You get to fix a problem quietly before it ever reaches a buyer’s radar, price the home to reflect an issue you’re not going to fix, or disclose it upfront with a contractor’s quote already in hand. Any of those three routes beats discovering the same defect three weeks before exchange, when a buyer’s surveyor hands them the leverage instead of you. A pre-sale survey also demonstrates transparency to a buyer’s solicitor, which tends to smooth the conveyancing process rather than slow it down.
Pro Tip: Commission your survey four to six weeks before you plan to list, not the week before. That buffer gives you time to get repair quotes or complete small fixes without rushing the decision under viewing pressure.
A surveyor works through the property methodically, and knowing their sequence lets you check the same ground yourself first. Here’s what gets scrutinised, area by area.
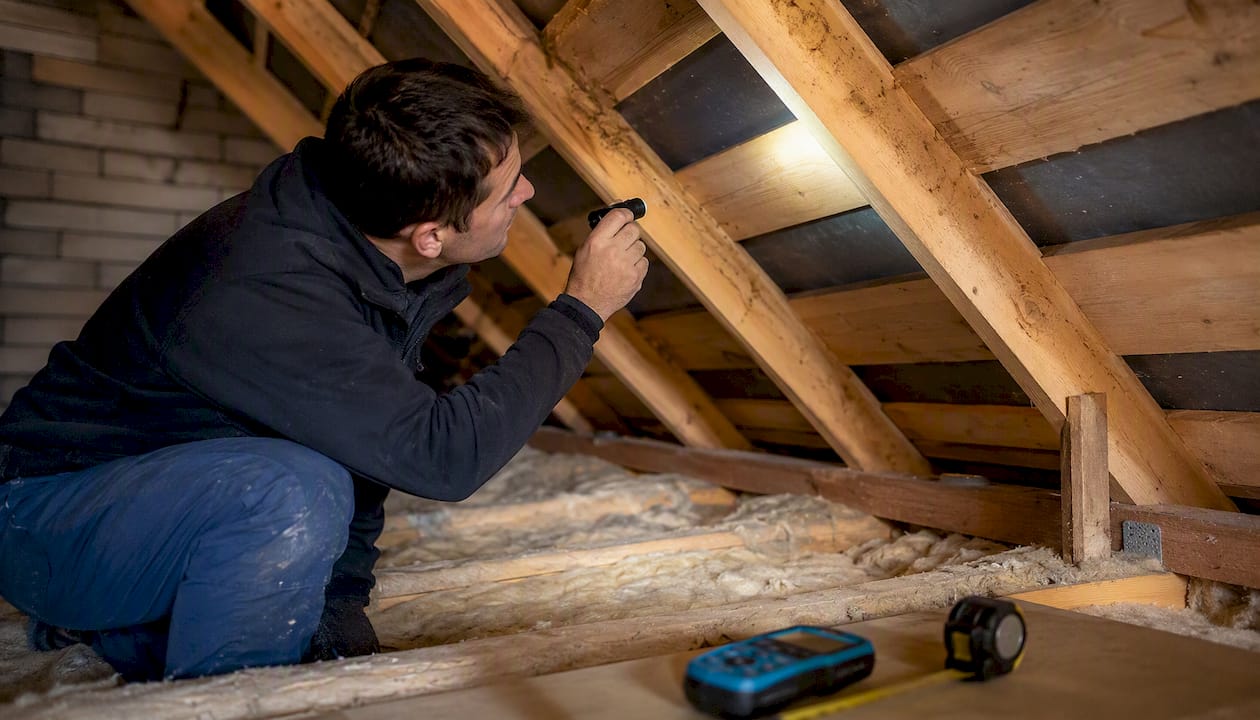
Roof, loft and exterior. Inspectors look for slipped or missing tiles, sagging rooflines, cracked pointing, and blocked or leaking gutters. In the loft, they check insulation depth, signs of water staining around the chimney breast or roof timbers, and evidence of past leaks that were never properly repaired. Walk your loft with a torch before anyone else does. A stained rafter you’ve forgotten about is exactly the sort of thing that gets flagged and photographed.
Structure and movement. Cracks matter, but not all cracks are equal. Surveyors distinguish between hairline settlement cracks in plaster and diagonal cracks over 3mm that suggest subsidence or structural movement. Door and window frames that have gone out of alignment, or gaps opening up where an extension meets the original building, both raise flags worth investigating before a stranger does it for you.
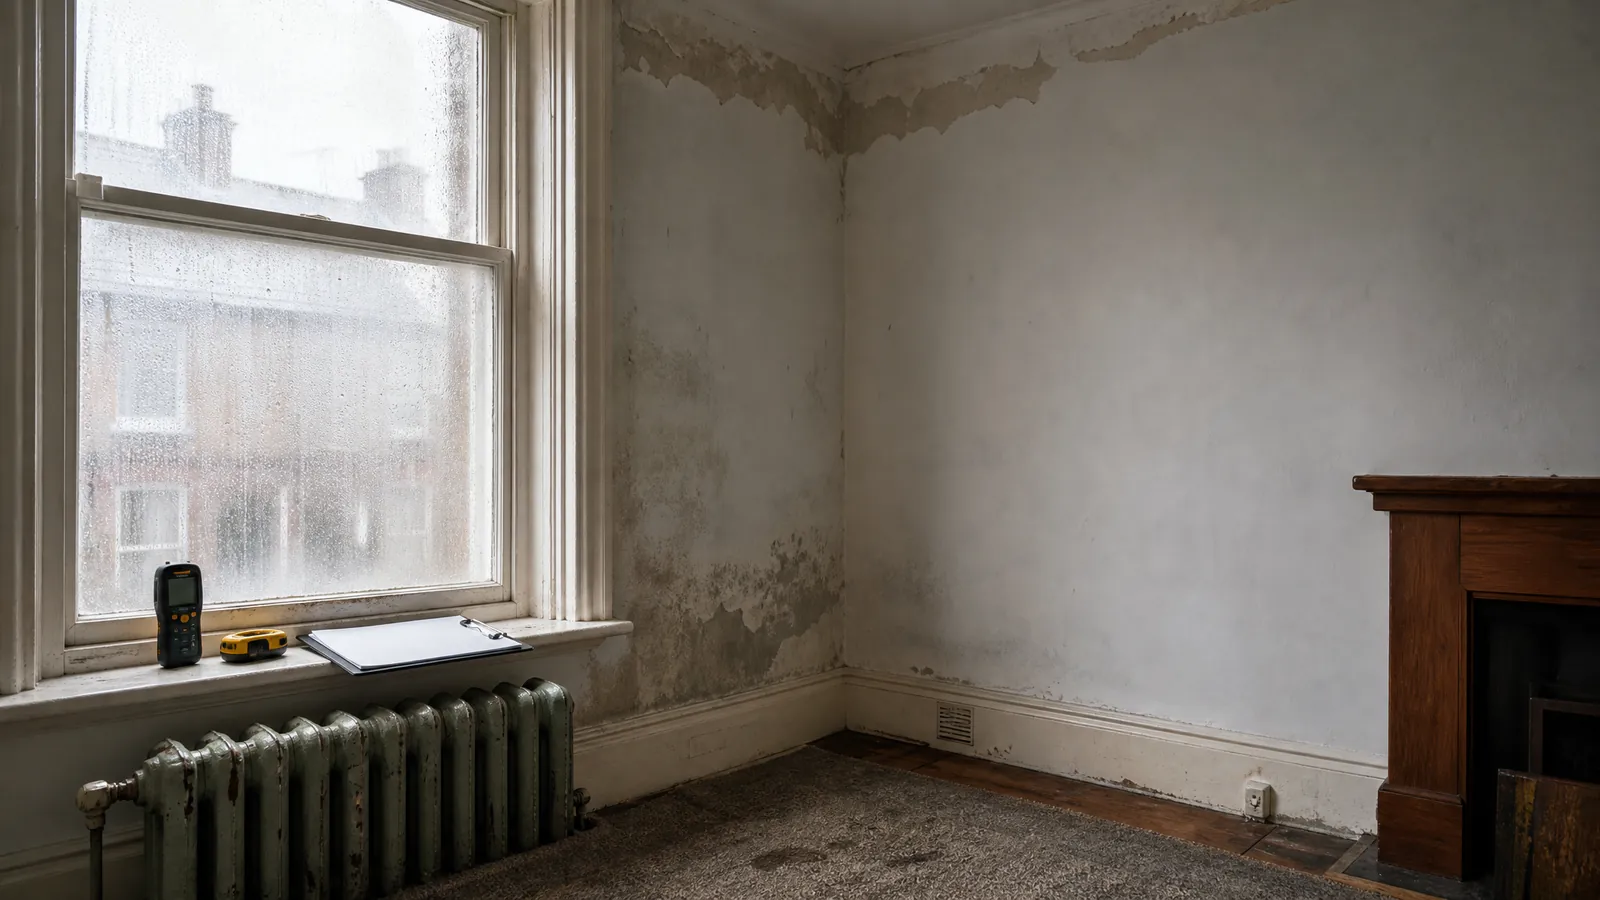
Damp and timber. This is the single most common cause of survey delays. Inspectors use a moisture meter on suspect walls, check skirting boards for rot, and look for the telltale tide marks of rising or penetrating damp. Timber-frame properties get extra scrutiny for woodworm and dry rot.
Drainage and external levels. Poor drainage around the base of the house, ground levels that slope towards the property rather than away from it, and manhole covers that haven’t been lifted in years are all checked. A drainage CCTV survey sometimes gets recommended as a specialist follow-up if the surveyor suspects a blocked or collapsed run.
Windows, doors and internal finishes. Condensation trapped between double-glazed panes, doors that stick, and water staining on ceilings below bathrooms all get noted. So does anything suggesting a leak has been painted over rather than fixed.
Plumbing, heating and electrics. Surveyors test hot water pressure, check for visible leaks under sinks, note the age and service history of the boiler, and inspect the consumer unit for outdated fuse boxes or missing RCD protection. An Electrical Installation Condition Report (EICR) is often recommended separately if wiring looks dated.
Chimneys, outbuildings and boundaries. Unused chimney flues, detached garages, fences and boundary walls all get a visual check, along with any evidence of Japanese knotweed or other invasive species near the boundary line, which can affect mortgage lending decisions on their own.
The items that most commonly derail a sale are damp, structural cracking, outdated electrics, and drainage blockages. All four are things you can spot yourself with a bit of patience, and all four are cheaper to address before a buyer’s surveyor writes them into a report with a red flag next to them.
Pro Tip: Keep every repair invoice, guarantee, and building-control certificate in one folder before the surveyor arrives. A £400 damp treatment with a 20-year guarantee looks completely different in a report when there’s paperwork behind it.
Not every defect deserves the same response, and trying to fix everything before listing usually wastes money on the wrong things. Work through issues in this order: safety and legal compliance first (gas, electrics, fire doors), then structural concerns, then services like plumbing and drainage, then damp, and cosmetic issues last.
Cost bands vary enormously by defect. A dripping tap or missing bit of grout costs next to nothing and takes an afternoon. A full rewire or underpinning work runs into thousands of pounds and weeks of disruption. For anything in the specialist follow-up category, such as damp treatment, drainage CCTV work, or a structural engineer’s report, budget realistically before deciding whether fixing it yourself actually beats pricing it into the sale.
For each defect you find, you’ve genuinely got three options: fix it before listing, price the property to reflect it, or disclose it openly alongside a contractor’s quote. There’s no universally right answer. A £150 boiler service is worth doing every time. A £6,000 structural repair might be better disclosed with quotes attached, letting the buyer factor it into their own financing rather than you fronting the cost and hoping it adds value.
Pro Tip: Declutter, fix dripping taps, regrout tired bathrooms, and give walls a neutral coat of paint. These are the cheapest wins on any pre-listing list. Save quote-gathering effort for the items that genuinely need a professional opinion.
Good preparation gets you a faster, more accurate report. Assemble a document folder before the surveyor’s first visit, containing:
On the practical side, clear access to the loft hatch, unlock any meter cupboards or outbuildings, and make sure the boiler and consumer unit serial numbers are visible and not buried behind stored boxes. Gutters and drains should be reachable, not hidden behind overgrown shrubs.
On timing, aim to commission the survey around two to four weeks before you plan to list. That leaves room to act on findings without rushing. Flag anything significant to your solicitor early too, since it affects how they’ll help you complete the TA6 form later.
Pro Tip: Photograph problem areas as you find them, and jot down a short note of when each issue first appeared and who repaired it, if anyone. That log becomes invaluable when you’re filling in disclosure paperwork months later and can’t quite remember the details.
Three RICS survey levels cover almost every UK property, and picking the wrong one either wastes money or leaves gaps in your evidence.
A Level 1 Condition Report is the most basic, giving a traffic-light overview of condition with no advice or valuation, suited to newer, standard-construction homes. A Level 2 HomeSurvey adds practical advice and a valuation, and works well for conventional properties in reasonable condition. A Level 3 Building Survey is the most thorough, recommended for older, unusual, or previously altered properties, pre-1930 construction, or homes where you suspect structural work has happened without proper documentation.
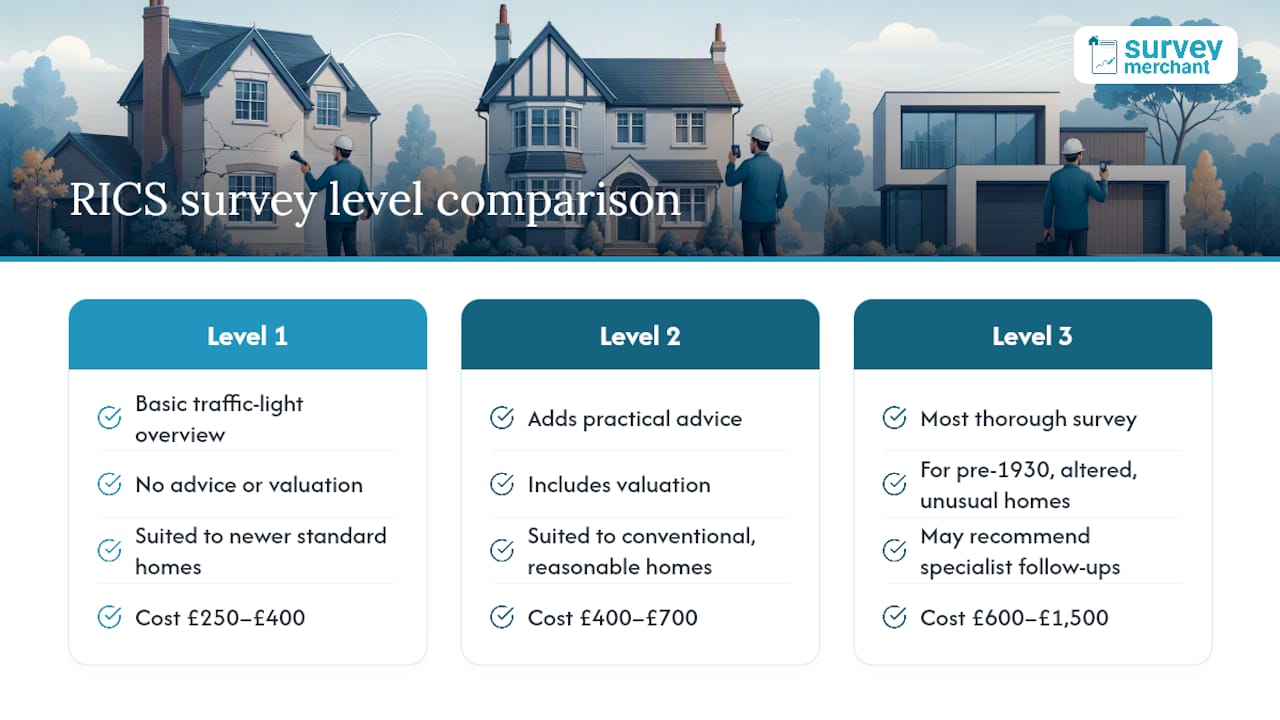
UK costs roughly break down as follows: Level 1 typically runs £250 to £400, Level 2 around £400 to £700, and Level 3 anywhere from £600 to £1,500 depending on property size and complexity. If the surveyor recommends specialist follow-ups, damp and timber reports, drainage CCTV, an EICR, or a structural engineer’s assessment, total spend on a comprehensive due-diligence package can reach £600 to £2,500 once everything’s accounted for.
When choosing who to book, check for RICS accreditation and a membership number you can verify independently, ask to see a sample report, and look for local experience with properties similar to yours. Confirm they carry professional indemnity insurance. Worth asking directly: how long has the surveyor worked in your area, will they call to talk through findings rather than just emailing a PDF, and what’s included if a specialist referral turns out to be needed.
Pro Tip: An RICS-accredited chartered surveyor produces a report to the Home Survey Standard, which mortgage lenders recognise. That impartiality matters more than saving £100 on a cheaper, unaccredited inspection.
Review every item flagged amber or red first, then get at least two contractor quotes on anything significant before deciding your next move.
For each meaningful defect, you have three practical choices: repair it before listing, adjust your asking price to reflect it, or disclose it openly with quotes attached. Fixing removes the issue entirely but costs money upfront with no guarantee of full return. Pricing-in keeps things simple but can undersell a defect that’s cheaper to fix than buyers assume. Disclosure with quotes tends to build the most trust, since buyers can factor the exact cost into their offer rather than guessing and lowballing out of caution.
Talk to your solicitor about how findings affect the TA6 Property Information Form. Consumer protection rules mean material defects generally need declaring, so get advice on timing and wording rather than guessing.
Pro Tip: Build a simple repair-and-quote pack, one page per issue, with photos, a contractor’s quote, and any guarantee documents. Handing this to a buyer’s agent upfront speeds negotiations far more than waiting for their surveyor to raise the same point cold.
Surveymerchant matches sellers with RICS-accredited surveyors and specialist professionals across the UK, drawn from a nationwide panel rather than a single local firm.
The platform prioritises impartial, quality-checked matches over volume, so sellers get a surveyor suited to their property’s age and complexity rather than whoever’s simply available first.
Comparing local firms one by one, chasing quotes, checking credentials yourself, all of that eats the time you’d rather spend prepping the house for viewings. Surveymerchant does that legwork for you, matching you against a nationwide panel of RICS-accredited surveyors so you’re not stuck vetting strangers off a search results page.

Tell Surveymerchant your postcode, the survey level you need, and any access details, and you’ll be matched with a surveyor suited to your property’s age and condition. Sellers with a standard modern home typically want the Level 2 HomeSurvey, while older or altered properties usually call for the full Level 3 Building Survey. If pricing accuracy matters as much as condition, pairing a survey with a dedicated valuation sharpens your asking price further. Head to Surveymerchant’s building surveying services page to see accredited surveyors in your area and get the process moving.
Do I legally need a pre-sale survey in England and Wales? No. Pre-sale surveys aren’t a legal requirement, but they give you control over timing and negotiation that you lose once a buyer commissions their own.
How long does a pre-sale property inspection take? A Level 2 survey usually takes two to four hours on site, with the written report arriving within a week. A Level 3 Building Survey can take longer and the report may take up to two weeks given its added detail.
Do I have to disclose everything a surveyor finds? Consumer protection rules generally require disclosing material defects once you know about them, so speak to your solicitor about how findings affect your TA6 form before you decide what to share.
Can I use the same surveyor a buyer might later book? Yes, though many sellers prefer a separate, clearly independent survey, since it strengthens the impartiality of the evidence if a buyer questions the findings later.
What happens if the survey finds something serious, like subsidence? You’d typically bring in a structural engineer for a more detailed assessment, then decide whether to repair, price the defect into your asking price, or disclose it with supporting quotes attached.
For anything touching legal disclosure or complex technical findings, consult RICS directly or speak with your solicitor before finalising your listing price.
Survey Merchant provides vetted RICS surveyors across 100+ UK locations at fixed fees:
→ Level 2 Home Survey (HomeBuyer Report)
→ Level 3 Building Survey (full structural survey)
→ RICS Red Book property valuations
→ Party wall surveyors — notices, awards & schedules of condition
→ Expert witness surveyors — CPR Part 35 reports for property disputes