Building Surveying
Aug 2, 2026
Guide to defect inspection: protect your property investment
Discover our guide to defect inspection and learn how to protect your property investment. Identify issues early and safeguard your finances.

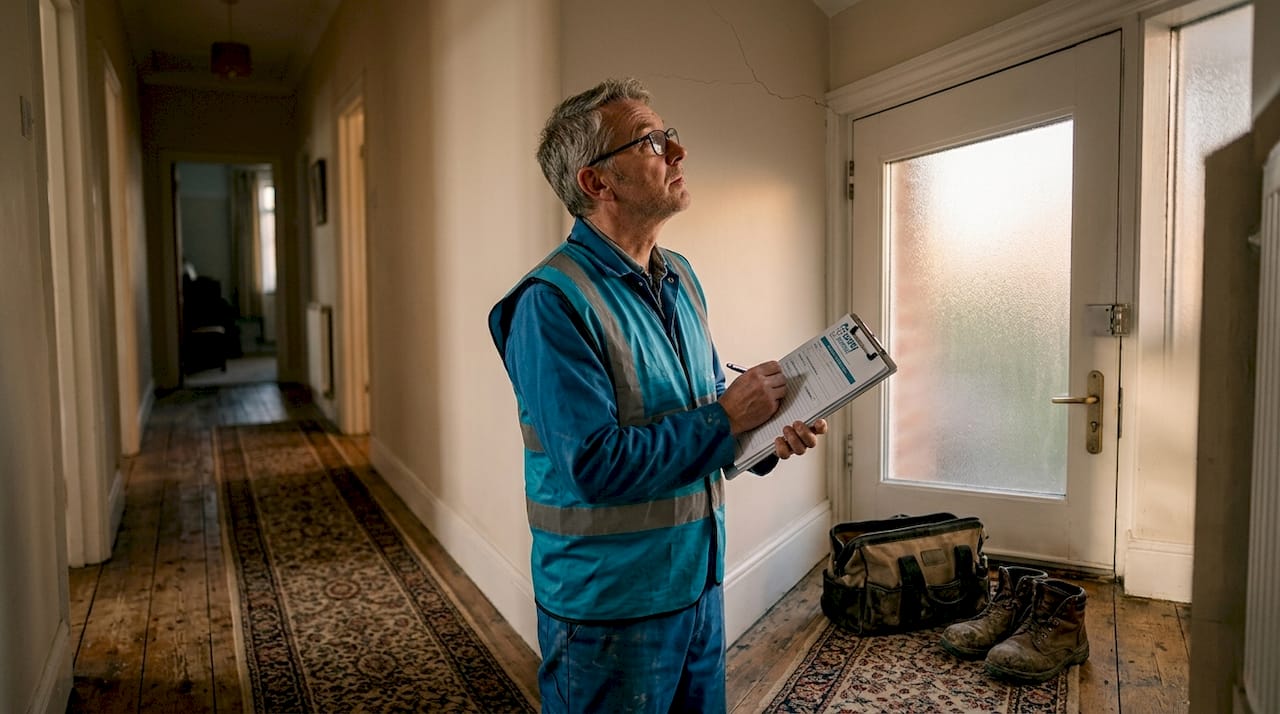
A defect inspection is a thorough visual and physical evaluation of a property to identify faults, workmanship issues, and unfinished elements that may affect safety or value. Whether you are buying a new build or an older home, this guide to defect inspection gives you the knowledge to spot problems early, document them clearly, and protect your financial investment before it is too late. Industry benchmarks set by the Royal Institution of Chartered Surveyors (RICS) and the National House Building Council (NHBC) define what constitutes acceptable workmanship, giving buyers a firm standard to measure against.
A defect inspection covers a systematic check of a property’s structure, fixtures, finishes, and services to identify anything that falls below the agreed or expected standard. The scope typically includes walls, ceilings, floors, doors, windows, roof condition, drainage, and all mechanical and electrical systems. The goal is to produce a clear record of every fault before you take ownership or before a warranty period expires.
Defect inspections fall into two broad categories: DIY checks and professional surveys. A DIY inspection is useful for a quick walk-through, but it misses the depth and legal weight of a professional report. RICS surveys are graded across three levels. A Level 1 survey costs from £250 to £400 and suits modern, well-maintained homes. A Level 2 survey runs from £400 to £800 and includes condition ratings. A Level 3 building survey surpasses £1,500 for complex or older properties and provides the most detailed analysis.
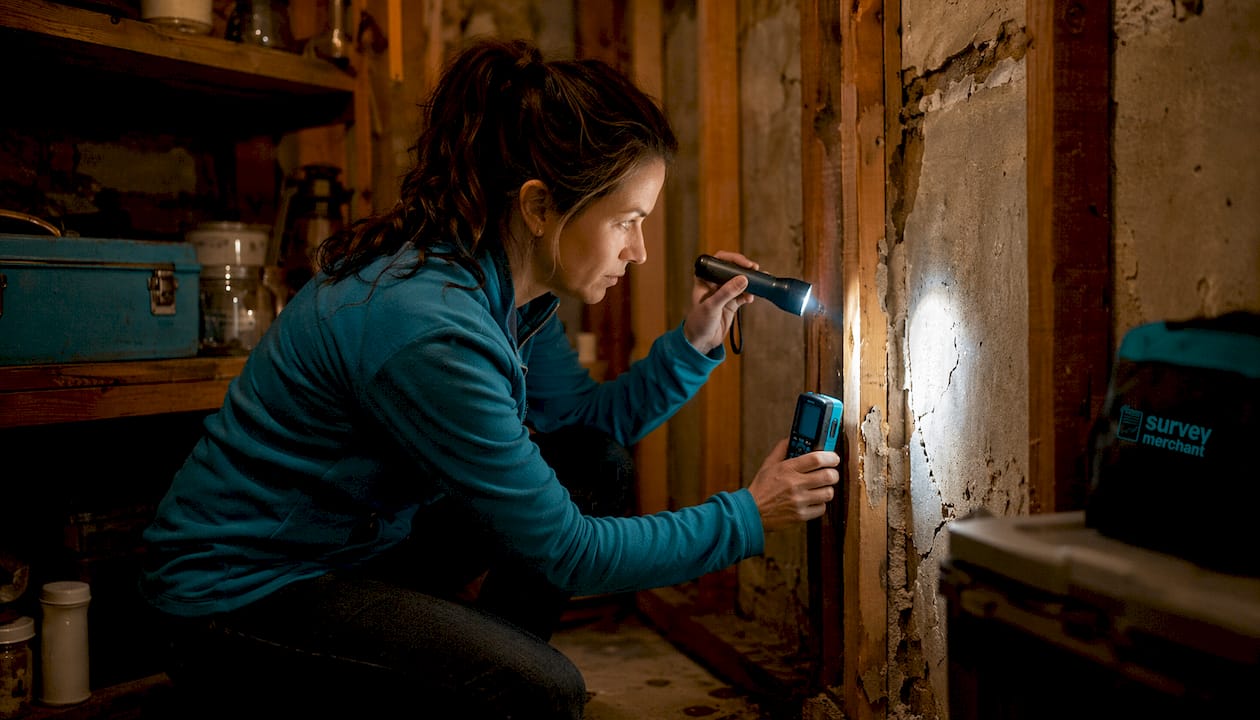
New-build snagging inspections are a distinct type of defect assessment. They focus on cosmetic and workmanship faults in recently completed homes, such as uneven plasterwork, poorly fitted doors, or missing sealant. Snagging inspections typically take 2–4 hours for a standard three-bedroom home and are best conducted at or before completion. Standard surveys on older properties look deeper, examining damp, structural movement, and roof integrity.
Common defects found during inspections include:
Surveyors use traffic-light condition ratings to prioritise defects, with red indicating urgent action, amber requiring monitoring, and green meaning satisfactory. This system makes it straightforward to decide what needs fixing first.
Preparation determines the quality of your inspection. Arriving without the right tools means you will miss defects that are plainly visible to a prepared eye.
| Tool or document | Purpose |
|---|---|
| Torch | Illuminates dark corners, loft spaces, and under-sink areas |
| Spirit level | Checks floors, window sills, and shelving for levelness |
| Tape measure | Verifies room dimensions against the floor plan |
| Camera or smartphone | Records photographic evidence of every defect |
| Socket tester | Confirms electrical sockets are wired correctly and live |
| Ladder | Provides access to loft hatches and high-level areas |
| Sticky tape or markers | Marks defect locations on surfaces for easy reference |
| Property specification | Verifies installed fixtures match the agreed contract |
| Floor plans | Confirms room layout and dimensions are as specified |
Bringing the original specification document to your inspection is one of the most overlooked steps. It lets you confirm that the kitchen units, tiles, and fittings installed are exactly what you paid for, not a cheaper substitute.
Timing matters as much as tools. Schedule your inspection during daylight hours and with all utilities switched on. Daylight inspections reveal defects such as uneven paint and poor finishes that artificial lighting can conceal entirely. Allow at least three to four hours for a standard property so you are not rushing through rooms.
Pro Tip: Book your inspection for a bright morning rather than late afternoon. Low winter sun entering through windows at an angle is particularly effective at exposing surface imperfections on walls and ceilings that you would otherwise walk straight past.
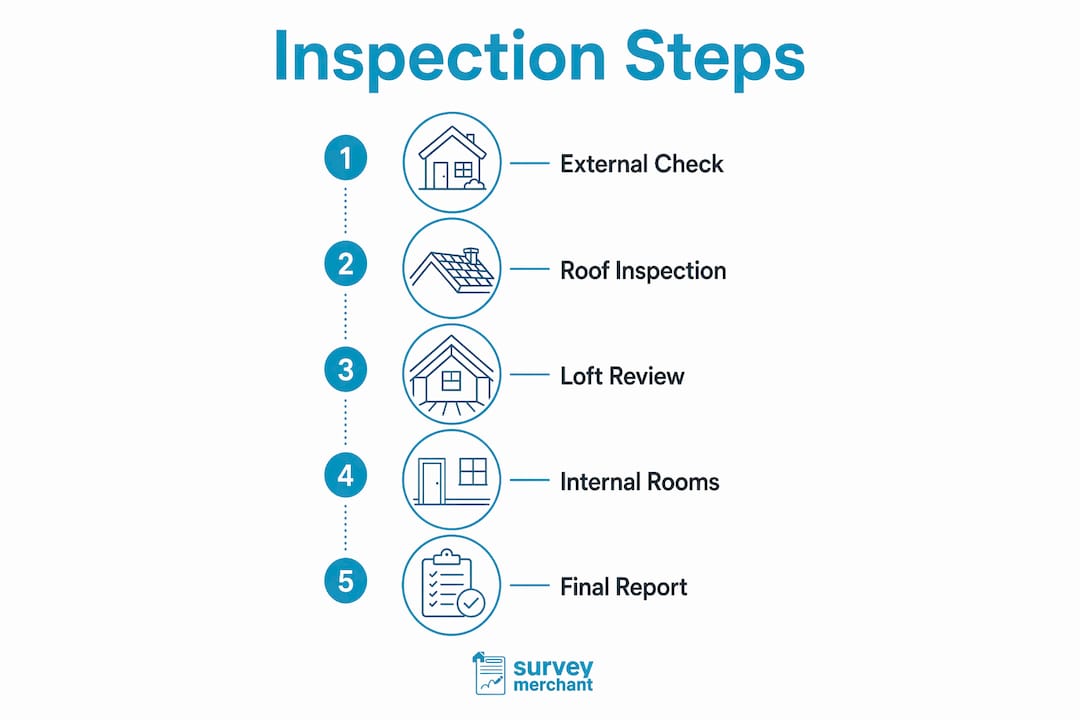
A systematic approach prevents you from missing defects through distraction or fatigue. Work from the outside in, and from top to bottom within each area.
External walk-around. Inspect the roofline, chimney stacks, guttering, and downpipes for damage or blockages. Check external walls for cracks, spalling brickwork, or gaps around window frames. Assess the garden, driveway, and drainage channels for correct grading and standing water.
Loft and roof space. Access the loft hatch and check for daylight penetration, signs of water ingress, adequate insulation depth, and correct ventilation. Look for sagging rafters or any signs of previous repair.
Room-by-room internal inspection. Work through each room methodically. Check walls and ceilings for cracks, staining, and uneven finishes. Test every door and window for smooth operation and correct alignment. Inspect floors for squeaks, uneven boards, or damaged tiles.
Kitchen and bathrooms. Check all units for level fitting and secure fixings. Test taps, showers, and waste outlets for flow and drainage speed. Inspect sealant lines around baths, basins, and shower trays for gaps or mould.
Services and systems. Turn on the boiler and run the heating to confirm all radiators reach temperature. Test every electrical socket with a socket tester. Operate extractor fans in kitchens and bathrooms. Check the consumer unit for correctly labelled circuits and no signs of overheating.
Document each defect. Photograph every fault from two angles: one close-up and one showing the location in context. Write a brief description noting the room, the nature of the fault, and its approximate size or extent.
Rate defect severity. Assign each defect a priority level. Safety-related faults such as exposed wiring or structural cracks are urgent. Cosmetic issues such as paint scuffs are lower priority. This rating drives the remediation conversation with the developer or seller.
The table below summarises the inspection sequence and realistic time allocations for a three-bedroom home.
| Inspection area | Estimated time |
|---|---|
| External and roof | 30–45 minutes |
| Loft space | 15–20 minutes |
| Living and dining rooms | 20–30 minutes |
| Bedrooms | 20–30 minutes |
| Kitchen | 20–25 minutes |
| Bathrooms | 15–20 minutes |
| Services check | 20–30 minutes |
| Documentation review | 15–20 minutes |
Pro Tip: Use your smartphone’s video function to record a continuous walk-through commentary as you go. It captures context that still photos miss and creates a timestamped record that is difficult to dispute.
A defect report is the document that compels a developer or seller to act. A vague list of complaints achieves little. A clear, structured report with photographs and severity ratings is far harder to ignore.
A strong defect report contains:
A detailed snagging report should include clear defect descriptions, photographs, severity ratings, and references to applicable standards. Email submission creates a dated, written record and attaching photos helps prevent disputes later.
Submit your report by email rather than handing over a paper copy. Email creates an automatic timestamp and a clear paper trail. Follow up within five working days if you receive no acknowledgement. Request a written schedule of remediation works, including target completion dates for each item.
Understanding the defects liability period protects your long-term position. Developers must fix defects reported within this period, which typically runs for two years after completion. Cosmetic defects must be addressed within that window. Structural issues may be covered for up to ten years under an NHBC Buildmark warranty or equivalent scheme.
Pro Tip: Schedule a second inspection at 21–23 months after completion. This catches latent defects that only appear after the property has been through a full heating cycle or a wet winter, and it falls just before your two-year warranty expires.
The most costly mistake buyers make is treating a snagging inspection as a tool to delay completion. Snagging inspections do not legally allow delaying purchase completion. They document defects for remediation during the defects liability period. Completion obligations remain once notice has been served. Misunderstanding this point can create unnecessary legal tension with developers.
Other common pitfalls include:
“The buyer’s strongest position is always before completion. The New Homes Quality Code mandates that developers provide access for pre-completion inspections. Use that access. Once you have completed, your leverage shifts from prevention to remediation, and remediation takes longer.”
Professional help is worth considering when the property is large, complex, or when you lack confidence in your own assessment. Professional snagging inspection fees typically range between £300 and £600 for standard residential properties. That fee frequently pays for itself when defects are identified that a DIY inspection would have missed entirely. For guidance on identifying hazards in construction, industry safety frameworks provide useful context on what constitutes a workmanship or material defect.
A thorough defect inspection, conducted in daylight with the right tools and documented with photographs and severity ratings, is the most effective way to protect your property investment before and after completion.
| Point | Details |
|---|---|
| Inspect before completion | Pre-completion access is your strongest position to negotiate defect remediation. |
| Use daylight and the right tools | Daylight reveals surface defects that artificial lighting conceals; bring a torch, socket tester, and specification documents. |
| Document everything systematically | Photograph each defect from two angles and assign a severity rating to drive remediation. |
| Submit a formal written report | Email your defect report with photos to create a dated, disputable record. |
| Know your warranty window | Cosmetic defects must be reported within two years; structural issues may be covered for up to ten years. |
Most buyers treat the defect inspection as a formality. They walk through a property with a vague sense of what looks right, note a few scuffs, and consider the job done. That approach leaves real money on the table.
The defects uncovered through systematic inspections go well beyond paint marks. Incorrectly wired sockets, inadequate roof insulation, drainage that runs toward the property rather than away from it: these are the issues that cost thousands to fix after completion and that a prepared buyer would have caught in an afternoon. The difference between a buyer who finds them and one who does not is almost never expertise. It is preparation and method.
On balance, every buyer should conduct at least two inspections: one at or before completion, and one at 21–23 months to catch latent issues before the warranty expires. The snagging report process is not complicated, but it requires discipline. Most buyers skip the second inspection entirely and then discover problems after their warranty has lapsed.
Professional surveyors add genuine value, particularly on complex or older properties. A RICS-qualified surveyor brings trained eyes, professional indemnity insurance, and a report that carries legal weight. For new builds, a professional snagging inspector typically uncovers far more defects than a DIY walk-through. The cost is modest relative to the purchase price of any property.
— Surveymerchant
Surveymerchant connects property buyers and homeowners with qualified RICS surveyors across the UK, covering everything from new-build snagging to full Level 3 building surveys.

Whether you need a professional snagging inspection before you complete on a new build or a detailed building survey on an older property, Surveymerchant matches you with the right surveyor for your specific situation. The platform also covers commercial property surveys and valuations, making it a single point of contact for all your property assessment needs. Every surveyor on the panel is vetted for qualifications and experience, so you receive a report that stands up to scrutiny and supports any remediation or renegotiation you need to pursue.
A defect inspection is a visual and physical evaluation of a property to identify faults, workmanship issues, and unfinished elements that may affect safety or value. It covers the structure, fixtures, finishes, and services of a property.
The best time is at or before completion, as this is when buyers have the most leverage to require remediation. A second inspection at 21–23 months after completion catches latent defects before the two-year warranty expires.
No. A snagging inspection does not legally allow you to delay completion once notice has been served. It is a documentation exercise that compels remediation during the defects liability period, not a contractual tool to halt the purchase.
Professional snagging inspection fees typically range between £300 and £600 for standard residential properties. RICS Level 2 surveys run from £400 to £800, and Level 3 building surveys exceed £1,500 for complex or older homes.
A defect report should include the property address, inspection date, a room-by-room defect list with photographs, severity ratings for each item, and references to applicable standards such as NHBC guidelines or the property specification.
Survey Merchant provides vetted RICS surveyors across 100+ UK locations at fixed fees:
→ Level 2 Home Survey (HomeBuyer Report)
→ Level 3 Building Survey (full structural survey)
→ RICS Red Book property valuations
→ Party wall surveyors — notices, awards & schedules of condition
→ Expert witness surveyors — CPR Part 35 reports for property disputes