Building Surveying
Jul 16, 2026
Snagging List for New Build
Moving into a new home? Our essential snagging list for new build properties guides you room-by-room to find defects before your warranty expires.
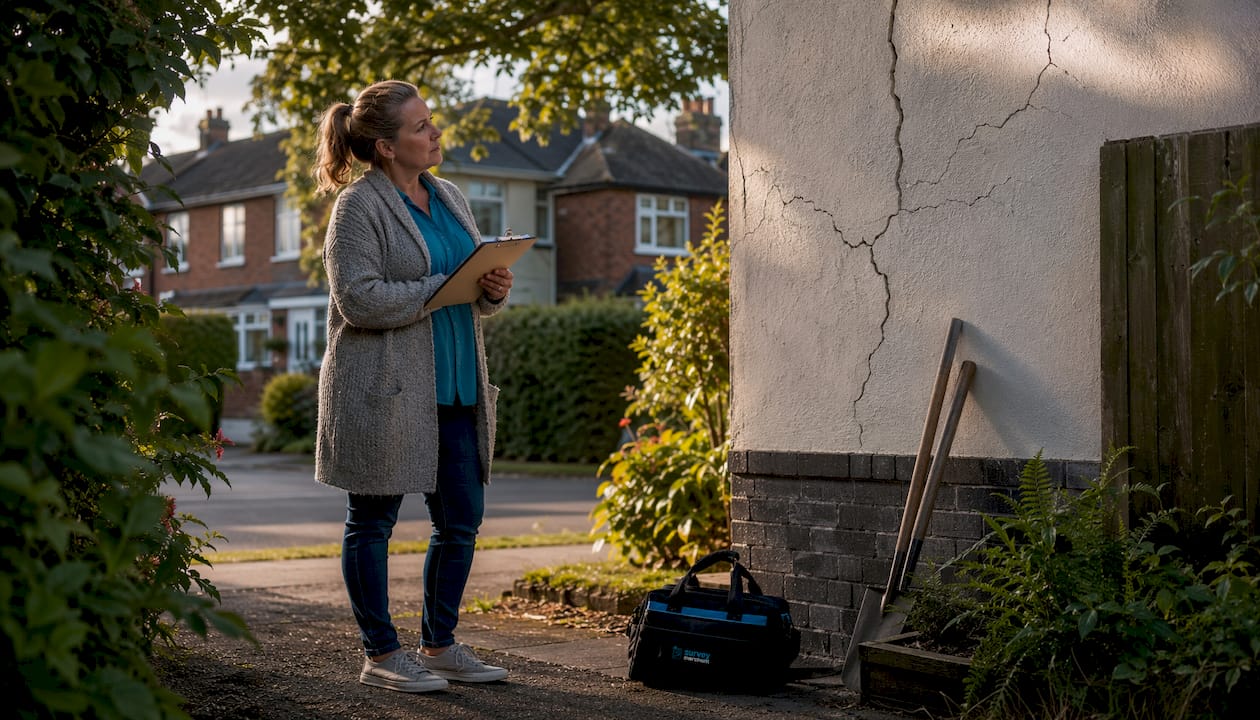
You collect the keys, walk into a spotless hallway, and the house feels ready. Then you start using it. A window does not latch properly. The shower tray holds water. A hairline crack above a door frame has already opened up. That is the point where a proper snagging list stops being admin and starts protecting your position.
A new-build home can look finished while still carrying defects, unfinished work, and items that were installed but never set up properly. Some snags are minor and easy to put right. Others are early warning signs of movement, water entry, poor workmanship, or problems with the heating, electrics, and ventilation. The job is not just to spot faults. The job is to record them in a way your builder cannot brush aside.
That is why this guide ranks issues by severity, with clear Critical and High priorities, instead of treating every mark and defect as equal. A chipped tile is not in the same category as damp around a window reveal or a boiler that has not been commissioned properly. Good snagging is about judgement. You need to know what affects safety, what risks wider damage, what will keep getting worse if ignored, and what can reasonably go on a secondary list.
Use this as a working inspection guide, not just a read-through. Log each issue with the room, exact location, date found, photos, and the impact on use. If you need a clearer process before you start, our guide to new-build property snagging inspections sets out how to inspect methodically and avoid missing defects that only show up once you test things properly.
You will also see what to do after the inspection. That includes how to present the snag list to the builder, when to involve the warranty provider, and when it makes sense to bring in an independent surveyor from Survey Merchant to assess defects that are being disputed, repeated, or wrongly dismissed as normal settlement.
Severity: Critical
Structural defects sit at the top of any snagging list for new build homes because they can affect safety, mortgageability, insurance, and long-term repair costs. A hairline shrinkage crack in fresh plaster isn’t the same as a diagonal crack running from a window corner, and buyers often get those mixed up.
Look at pattern, location, and what the surrounding building is doing. Diagonal cracking around openings, stepped cracking in masonry, movement at ceiling junctions, sloping floors, doors that suddenly bind, or gaps reopening after patching all deserve closer scrutiny.
Common examples I’d treat cautiously include:
A builder may call many cracks “normal drying out”. Sometimes that’s true. Sometimes it’s a way to delay proper investigation. Record every crack with a photo, exact room location, and a scale reference. A coin or ruler helps. If you’ve got a crack width gauge, use it. If you haven’t, note whether the crack is wide enough to catch a fingernail.
Practical rule: If a crack is paired with sticking doors, uneven floors, or movement around windows, treat it as more than cosmetic until proven otherwise.
Check the ground floor carefully, especially corners, thresholds, and areas near load-bearing walls. If several plots on the same development show similar movement, that can point to a wider construction or ground issue. A proper new build property snagging inspection helps separate harmless drying cracks from defects that need monitoring, opening up, or structural review.
Don’t sign off vague promises. Ask for the remedial method, timescale, and confirmation once works are complete.
Severity: Critical
You collect the keys, walk through a spotless new house, and everything smells of fresh paint. Two weeks later, a brown mark appears at the bedroom reveal, the skirting starts to swell, and the builder says it just needs time to dry. That is how water defects get missed.
Water entry in a new build needs treating as a priority snag from day one. It rarely stays cosmetic. Once moisture gets behind finishes, it can damage plasterboard, timber, insulation, flooring, and decorations, and it can leave you arguing about cause rather than getting the defect fixed.
A proper snagging approach helps here. Log each issue by room, date, weather conditions, photo reference, and severity. If the stain is active, spreading, or linked to an external defect, mark it Critical. If there is clear evidence of damp but no active ingress on the day, mark it High and keep monitoring. A simple template for recording snags makes that conversation with the builder far more precise, especially if you later need to involve the warranty provider or a surveyor from Survey Merchant.
A clear visual check helps early on:
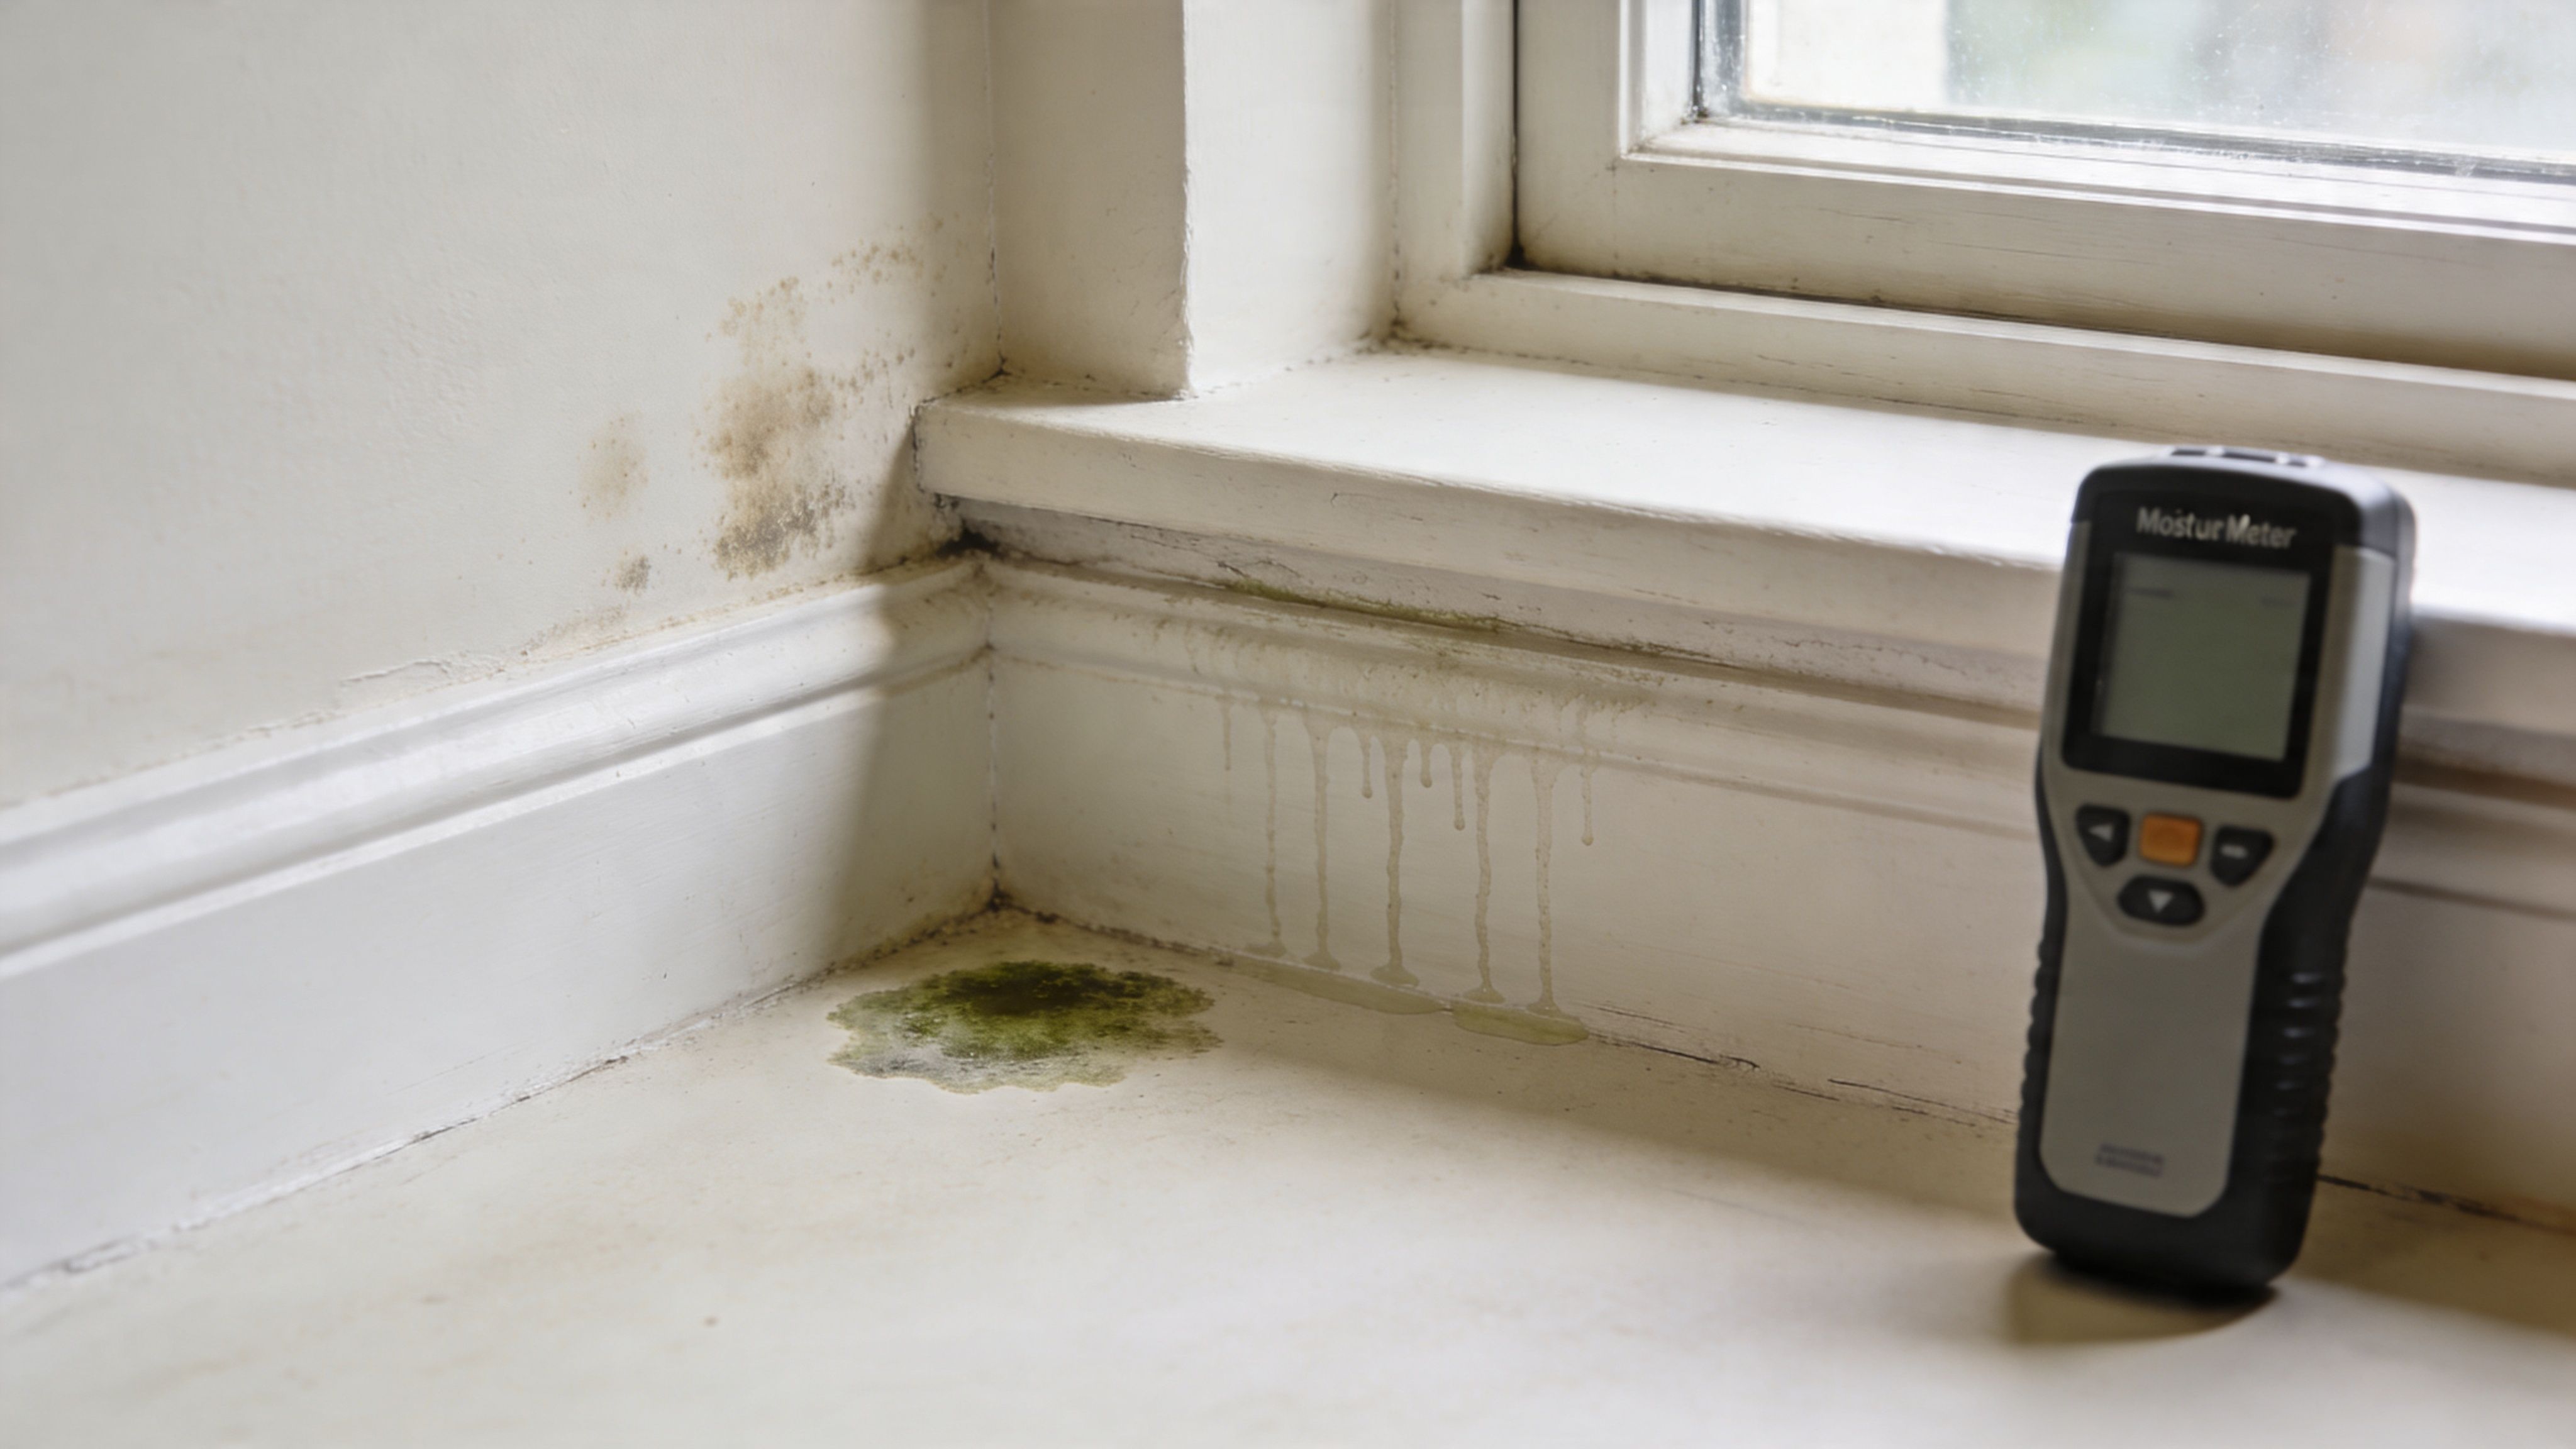
Start with the places where rainwater, plumbing, and condensation problems tend to show themselves early. Check window reveals, external door thresholds, ceiling lines below bathrooms, loft spaces, service penetrations, bathroom corners, cupboards on outside walls, and behind any furniture already in place. Fresh paint can hide recent patching, so look for rippling finishes, staining, mould speckling, swollen trim, lifting vinyl, and any stale or musty smell.
Then go outside and work back to the internal signs. Look at sealant joints, weep holes, sill falls, render cracks, roof abutments, gutter joints, downpipes, and ground levels around the walls. If paving, soil, or landscaping sits too high against the house, moisture problems often follow.
Checks that usually pay off:
If you suspect an ongoing problem, a RICS damp survey on your property gives you stronger evidence than a verbal complaint to the site manager. If repairs involve membranes, tanking, or moisture-control measures, specialist advice such as professional damp proofing solutions may be relevant after the cause has been properly diagnosed.
Some damp defects should go straight beyond a routine snag email. Water near electrical fittings, mould affecting more than one area, repeated staining after redecoration, leaks from roof details, or moisture entering through cavity or façade defects all need urgent action.
The trade-off is simple. If you accept another coat of paint, you may get a quick cosmetic fix. If you push for the entry point to be identified, tested, and confirmed repaired, it usually takes longer but gives you a far better chance of ending the problem. Ask the builder what failed, how they will fix it, when they will return to check moisture levels, and what evidence they will provide once the area is dry.
This walkthrough gives a useful visual sense of where damp problems can hide in a property:
If the builder keeps repainting without fixing the entry point, record that pattern and escalate. Send a dated snag report, attach photos, ask for the remedial method in writing, and refer the matter to the warranty provider if the response drifts. A surveyor’s report carries more weight when the defect has been logged properly from the start.
Severity: High
Windows and doors are easy to inspect badly. Buyers tend to glance at the glass, maybe open one casement, then move on. That misses a lot. These elements need to operate smoothly, seal properly, lock properly, and shed water.

Open and close every window. Lock and operate every handle. Do the same with front, rear, patio, French, bifold, and internal fire doors if fitted. If one sticks now, it usually won’t improve with use. It often gets worse once seasonal movement kicks in.
Pay attention to:
A real example from site inspections is the French door that “just needs adjustment” but also has daylight at the meeting stile and a cold draught at floor level. That isn’t a minor tweak. It’s evidence the set may be out of square, the seals may be poor, or the threshold detail may be wrong.
If a window only opens when you lift it, shoulder it, or pull the frame into line by hand, it isn’t fitted correctly.
Check cills as well. They should fall away to drain water. Safety glass markings matter in critical locations such as doors and bathrooms. Don’t assume compliance because the unit looks new.
This category often gets downgraded by builders as “finishing”. It isn’t. Poorly installed windows and doors affect security, weather resistance, heat loss, and day-to-day use.
Severity: High
Most snagging lists often become quite lengthy. It is also common for buyers to be overly polite. They don’t want to seem fussy, so obvious finishing defects go unreported. That’s a mistake. You’ve paid for a finished home, not a home that still needs patching, sanding, cleaning, filling, and repainting.
The scale of the issue is well established. Industry data summarised by PlanRadar states that the average newly built property contains between 50 and 150 defects, and an estimated 40% of new homes are now being inspected for defects. Finishing defects make up a large share of what buyers notice first.
Look at surfaces in daylight first, then switch on all lighting. Different defects show under different conditions. Run your hand lightly over plastered walls and tiled surfaces. You’ll feel hollows, ridges, proud joints, and sharp edges that aren’t obvious from the doorway.
Typical defects worth logging include:
A common trade-off shows up here. Some builders will fix cosmetic snags quickly because they’re visible and easy to close out. Others rush the remedials and create a second round of poorer patch repairs. That’s why your wording matters. Don’t just write “paint poor”. Write “brush marks and missed coverage to lounge ceiling, above window wall, visible in daylight and artificial light”.
Walk every floor finish. Creaking laminate, hollow-sounding tiles, lifting vinyl edges, and carpet thresholds that aren’t secure should all go on the list. Cleanliness matters too. Plaster dust in corners, grout haze on tiles, sealant smears, and adhesive residue are not acceptable handover standards.
This is the part of a snagging list for new build homes where precision saves arguments. The more exact your notes, the less room there is for a superficial touch-up and a closed ticket.
Severity: High
Small faults in kitchens and bathrooms become daily annoyances very quickly. A cabinet door that catches, a tap that weeps into the unit below, or a shower enclosure that leaks onto the floor won’t feel minor once you’re living with it.

Treat these rooms like a function test, not a visual inspection. Open every cupboard and drawer. Check alignment, hinges, runners, handles, and door catches. Worktops should be secure, neatly jointed, and properly sealed where they meet walls and upstands.
Then test every sanitary fitting and tap.
A good practical habit is to photograph each room twice. Take one wide shot so the builder can identify the exact unit, then close-ups of each defect. That avoids the usual “we couldn’t locate the issue” reply.
There’s a financial angle many buyers underestimate. Grand Designs Magazine summarises a data-led gap in typical advice, noting that average rectification costs can reach £5,000 to £10,000 per property, with holdbacks of 2.5% to 5% often relevant in snagging disputes. That’s why sloppy fitting-out shouldn’t be brushed off as harmless snagging trivia.
If appliances are included, confirm they’re present, undamaged, and supplied with manuals and warranty details. Don’t leave integrated appliances untested if power and connections are live. Builders sometimes assume “installed” means “completed”. It doesn’t. In these rooms, completed means fitted, sealed, connected, draining properly, and working.
Severity: Critical
Electrical snagging isn’t about acting like an electrician. It’s about checking what a buyer can reasonably verify, then refusing to accept gaps in certification or obvious defects.
Start at the consumer unit. Circuits should be clearly labelled. The board should be accessible, tidy, and not hidden behind stored items or awkward joinery. Ask for the electrical certificate and building control sign-off. If that paperwork is missing, incomplete, or vague, stop treating the electrics as finished.
You should also expect the installation to align with the wider regulatory framework explained in this guide to building regulations.
Then test the basics yourself:
Look closely at finish quality around accessories. Crooked faceplates, gaps to plaster, loose back boxes, and damaged switches often signal rushed second-fix work. In kitchens and bathrooms, pay extra attention to sockets, lighting, and extractor controls near wet areas.
One useful industry benchmark comes from Deltek, which notes that industry practice commonly allocates 2.5% to 5% of the agreed contract price as retention funds to cover snagging remediation work. That tells you something important. Electrical defects are serious enough to sit within formal defect and payment control processes, not just casual post-handover fixes.
Site note: If a builder says, “The electrician will come back for that later,” log the exact missing item and ask for a date. Verbal promises disappear quickly after completion.
If anything appears unsafe, such as exposed conductors, missing fittings, a damaged consumer unit cover, or non-working alarms, treat it as urgent and escalate in writing the same day.
Severity: Critical
A tidy boiler cupboard means nothing if the system hasn’t been commissioned properly. The same goes for radiators, thermostats, hot water, trickle vents, and mechanical ventilation. These are performance items. They either work properly or they don’t.
Ask for the commissioning documents, manuals, and any certification relevant to the heating system. If it’s a gas installation, confirm the handover pack is complete. If it’s an air source heat pump or another low-carbon system, ask how it’s been set up, what controls you’ve got, and what normal operation looks like.
A useful recent angle here is regulation-driven defects. One industry source highlights that from April 2025, new builds are expected to meet tougher low-carbon performance standards, and it points to new snag types around insulation, ventilation, air source heat pumps, PV integration, and compliance checks in newer homes. Whether your home falls under that exact timing or not, the practical lesson is the same. Modern systems need closer inspection, not less.
Check these in use:
A common real-world issue is the home that feels stuffy, fogs up quickly, and gets condensation on cold mornings despite being brand new. That can come from poor ventilation setup, blocked vents, badly fitted trickle vents, or systems that were never balanced properly.
Don’t accept “you just need to get used to the system” unless someone has shown you it’s operating correctly. There’s a big difference between unfamiliar controls and faulty commissioning.
Severity: High
A lot of snagging disputes start the same way. The inside looked finished on viewing day, nobody spent long on the plot, then the first proper downpour showed where the build quality really tailed off. Water sits against the house, paving rocks underfoot, fences move in the wind, and the developer calls it normal settlement. It often is not.
Treat the outside as part of the building, not an afterthought. External defects affect drainage, safety, boundary position, and future maintenance costs. They also tell you a lot about how carefully the site was finished overall.
Walk the full perimeter slowly, with your phone in hand and your snagging template open. Log each issue by location, photo reference, and severity. I would usually rate anything affecting water run-off, access safety, or boundary accuracy as High. If standing water is directed toward the house, or levels bridge the damp-proof course, that moves into Critical territory and should be raised immediately with the builder and, if needed, your warranty provider.
Focus on the points that cause the most arguments later:
The reason for checking levels so closely is simple. Poor external falls rarely stay as an outside-only problem. They can feed damp at low level, wash out sub-bases under paving, and create slippery access around entrances. By the time the defect is obvious, the builder may try to frame it as wear, weather, or lack of maintenance.
Boundary issues need careful evidence. Photograph each fence run, gate, retaining edge, and marker point. Compare what is built against the sales plan and legal documents, then record any mismatch straight away. A fence in the wrong place is much easier to correct before occupation patterns set in and the wrong line starts to look accepted.
Presentation matters, but only after defects are put right. If you want ideas for finishing the frontage once the builder has corrected the basics, these ways to improve curb appeal are useful. First make sure the plot drains properly, boundaries are accurate, and all external work has been completed to the standard you were sold.
If the builder pushes back, keep the process disciplined. Send the snag list with dated photos, ask for written timescales, and separate cosmetic items from drainage, safety, and boundary defects. Where the dispute turns on levels, site finishing, or whether the external works meet expected tolerances, that is the point to escalate to a professional surveyor from Survey Merchant for an independent snagging report.
| Item | 🔄 Implementation complexity | ⚡ Resource requirements | 📊 Expected outcomes | ⭐ Ideal use cases | 💡 Key advantages |
|---|---|---|---|---|---|
| Structural Defects and Cracks | High, specialist assessment/monitoring often required | High, structural surveys, possible major remedial works | Prevents catastrophic failure; protects warranties and insurance | Critical pre‑handover checks, lender/insurance assessments, suspected settlement | Early detection enables negotiation and preserves warranty claims |
| Water Ingress and Damp Issues | High, weather‑dependent, may need invasive testing | Moderate–High, moisture meters, waterproofing, remedial works | Prevents mould, decay and long‑term structural damage; protects health | Basements, after wet season inspections, properties with external penetrations | Identifies costly defects early; often covered under new‑build warranty |
| Defective Windows, Doors, and Frames | Medium, measurable alignment and seal tests | Low–Medium, adjustments or unit replacements, hardware checks | Improved thermal performance, security and operation | New installs with high glazing, draught/condensation complaints | Often straightforward to fix; highly visible to buyers for negotiation |
| Finishes, Decoration, and Surface Defects | Low–Medium, visual inspection in varied lighting | Low, touch‑ups or rework by finishing trades | Improved aesthetics and perceived build quality | Final snagging and buyer quality checks prior to handover | Easily correctable; strong effect on buyer satisfaction |
| Kitchen and Bathroom Fixtures and Fittings | Medium, multi‑trade checks and appliance testing | Moderate, appliance tests, plumbing adjustments, replacements | Functional wet rooms, leak‑free installations, appliance operation | Turnkey occupancy checks and high‑use area inspections | High buyer impact; appliances/fixtures often under manufacturer warranty |
| Electrical Installation and Safety | High, qualified electrician and certification required (EICR) | High, testing equipment, potential rewiring or protective devices | Ensures safety compliance, insurance and mortgage eligibility | Mandatory pre‑handover safety sign‑off and compliance verification | Addresses safety‑critical issues; provides legal and insurance assurance |
| Heating, Hot Water, and Ventilation Systems | High, commissioning and specialist checks (Gas Safe/MVHR) | High, commissioning, system testing, possible specialist repairs | Reliable heating/hot water, energy efficiency and occupant comfort | Winter handover, properties with MVHR or complex heating systems | Ensures comfort, efficiency and warranty/regulatory compliance |
| External Areas, Landscaping, and Boundaries | Medium, site works coordination and weather‑dependent | Moderate, paving, drainage, fencing and landscaping works | Curb appeal, safe access, and effective perimeter drainage | Final site completion, accessibility checks, boundary disputes | Improves first impressions; prevents trip and drainage hazards |
Finding defects is only half the job. Getting them fixed depends on how you report them.
Start with one consolidated document. Don’t drip-feed random emails with single photos attached. For each snag, record the room or external location, a short factual description, the severity, and a clear photograph. If the issue is hard to spot, take one wider image and one close-up. Blue painter’s tape helps mark locations without damaging the finish. A simple downloadable template should include item number, location, defect, severity, photo reference, date reported, builder response, and status.
Rank items sensibly. Critical defects come first. Structural movement, water ingress, electrical safety concerns, failed glazing, heating or hot water failures, and serious ventilation problems should be flagged separately from decorative defects. That makes it harder for a customer care team to bury serious issues in a long cosmetic list.
Then submit the list in writing to the builder’s customer care team. Ask for written acknowledgement, a schedule of remedial works, and named responsibility for each item. Keep every email. Keep notes of every call. If someone attends site, record what they inspected and what they said they’d do. Most disputes become messy because the paper trail is poor, not because the defect was impossible to prove.
Don’t let the builder split obvious linked issues into isolated repairs. A damp patch, failed sealant, and moulding skirting in the same corner are one defect chain, not three unrelated tickets. The same goes for movement cracks plus sticking doors or repeated staining around a window reveal.
If the builder delays, disputes, or carries out poor remedials, involve the warranty provider under the terms of your cover and follow the formal complaint process. If the issue is technical, repeated, or likely to lead to a larger claim, bring in an independent surveyor. That’s usually the point where vague conversations stop and evidence starts to matter.
A professional snagging survey can strengthen your position because it gives you a structured report, photographs, and defect descriptions written in language builders understand. Survey Merchant is one relevant option in this space. It connects clients with a nationwide panel of surveyors who can produce snagging reports and schedules of outstanding works for new build properties.
A good snagging list for new build homes isn’t just a checklist. It’s a powerful tool. Done properly, it protects your investment, sets the standard for remedial work, and stops “we’ll sort that later” from turning into “that’s wear and tear” six months down the line.
If you want an independent snagging report that carries more weight with a builder or warranty provider, Survey Merchant can connect you with a suitable UK surveyor from its nationwide panel. You can review the service and request help through Survey Merchant.
Survey Merchant provides vetted RICS surveyors across 100+ UK locations at fixed fees:
→ Level 2 Home Survey (HomeBuyer Report)
→ Level 3 Building Survey (full structural survey)
→ RICS Red Book property valuations
→ Party wall surveyors — notices, awards & schedules of condition
→ Expert witness surveyors — CPR Part 35 reports for property disputes